There are two versions of JBoss: AS (Application Server) and EAP (Enterprise Application Platform). You can read more about the differences here.
I will use EAP 6.3.0 and Java 1.8 for this setup. Download and unzip. In my case in c:\jboss-eap-6.3
The first thing you need to do is to add an user, so from elevated prompt run
C:\jboss-eap-6.3\bin\add-user.bat and after creating the account run
C:\jboss-eap-6.3\bin\standalone.bat If you get any port conflicts, please follow the instructions here. As the name of the file suggests, JBoss will run in Standalone mode.
Let’s add a datasource to the configuration. Since there are no built-in MySQL drivers, we need to download them.
Create a new module.xml with the following:
1 2 3 4 5 6 7 8 9 | <module xmlns="urn:jboss:module:1.0" name="com.mysql"> <resources> <resource-root path="mysql-connector-java-5.1.34-bin.jar"/> </resources> <dependencies> <module name="javax.api"/> <module name="javax.transaction.api"/> </dependencies></module> |
Copy the module.xml and the JAR file to the modules folder in your EAP installation, and follow the file structure:
modules
+---com

¦   +---mysql

¦   ¦    +---main

¦   ¦    +-------module.xml

¦   ¦    +-------mysql-connector-java-5.1.34-bin.jar
After this, we need to fund the C:\jboss-eap-6.3\standalone\configuration\standalone.xml
and add the newly installed driver:
1 2 3 4 5 6 7 8 | ... <drivers> <driver name="h2" module="com.h2database.h2"> <xa-datasource-class>org.h2.jdbcx.JdbcDataSource</xa-datasource-class> </driver> <driver name="mysql" module="com.mysql"/> </drivers>... |
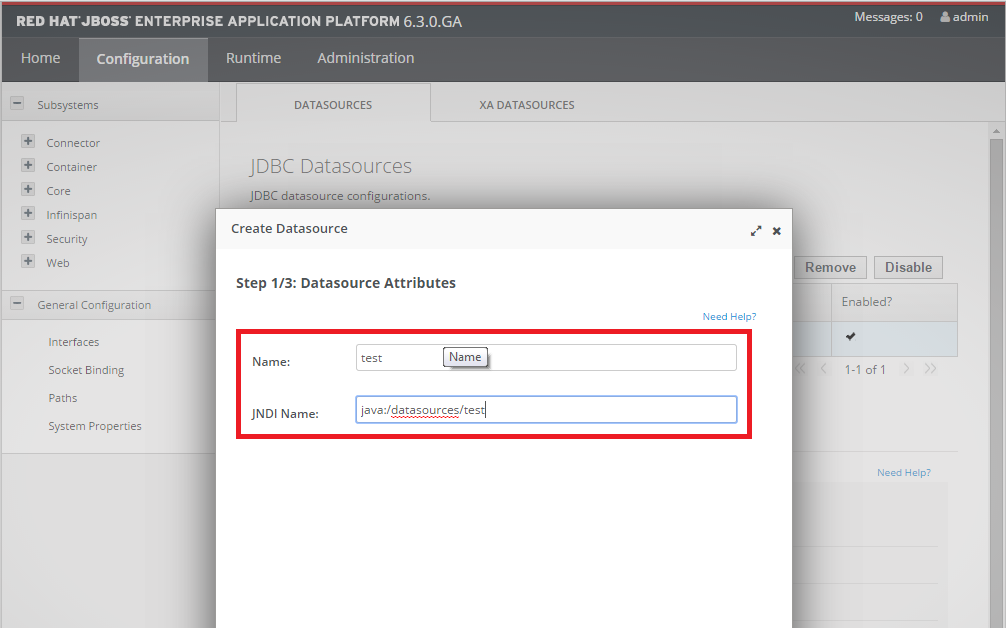
This will install the MySQL drivers for JBoss. Now that we have those set, we just add the datasource. In my case a “test” database.
There are few important default ports:
http://localhost:8080 – The default JBoss HTTP Port and
http://localhost:9990 – The admin console
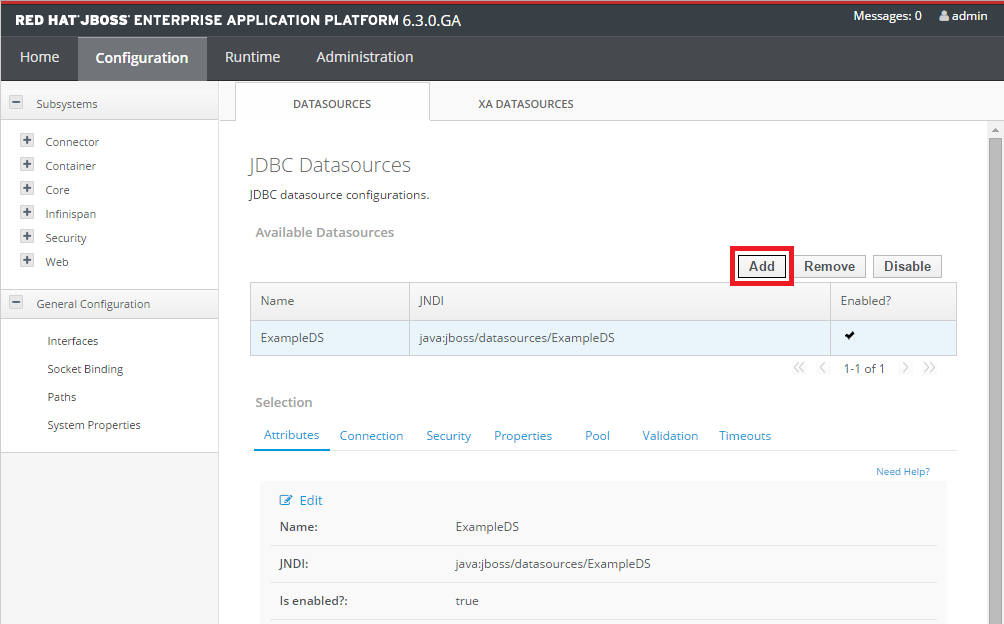
Go to http://localhost:9990/console/App.html#datasources
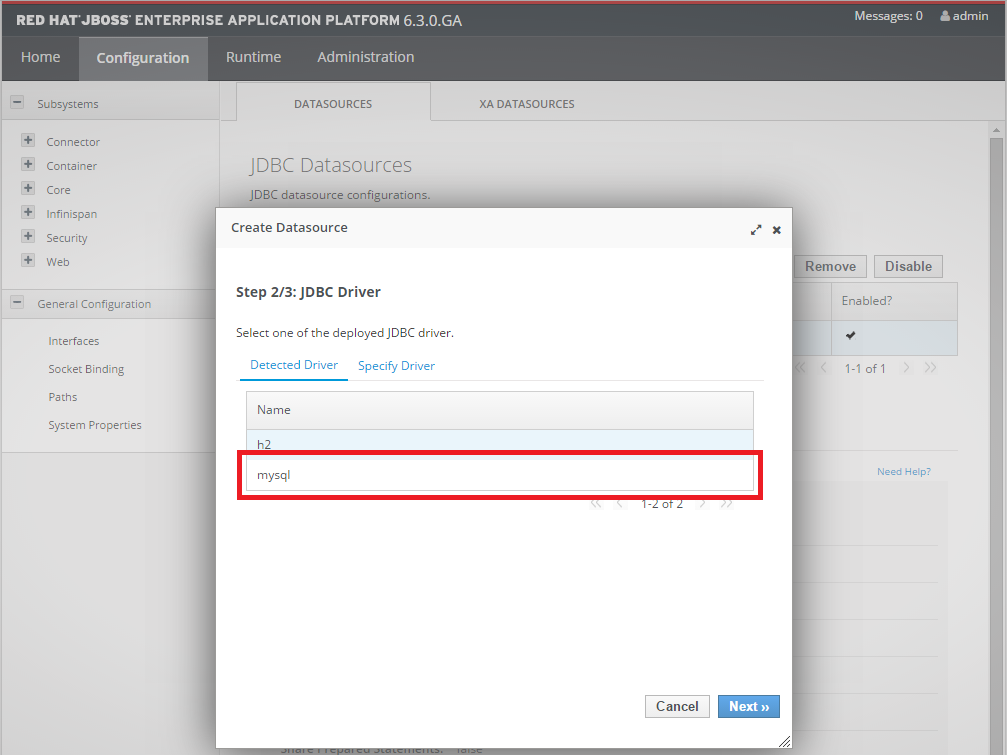
You can see the driver that we installed here
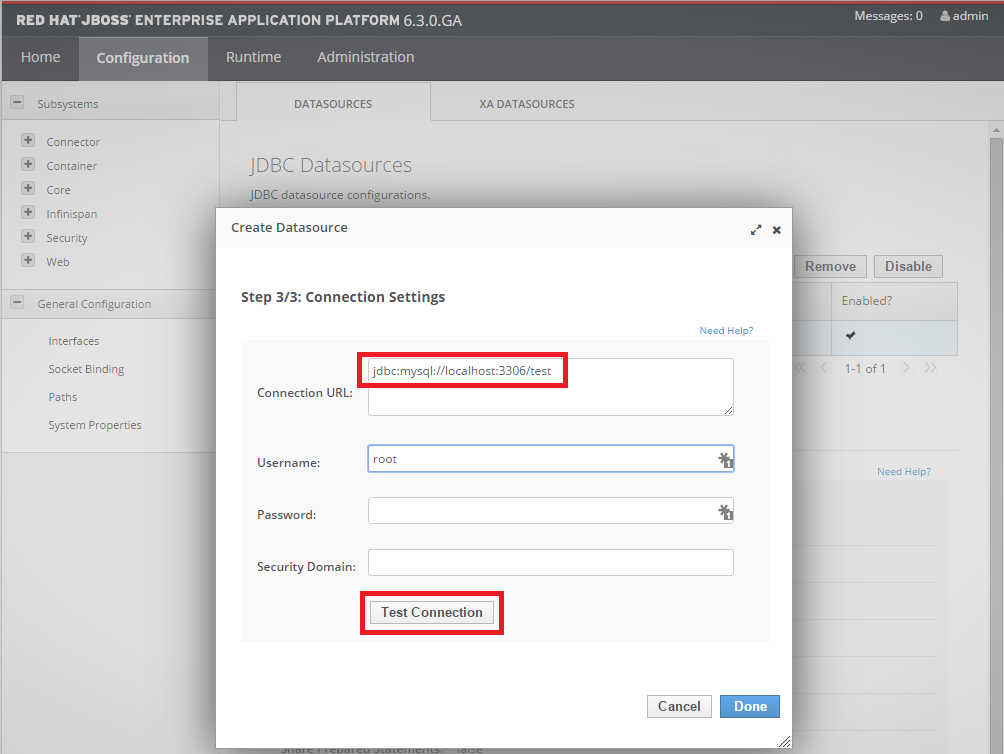
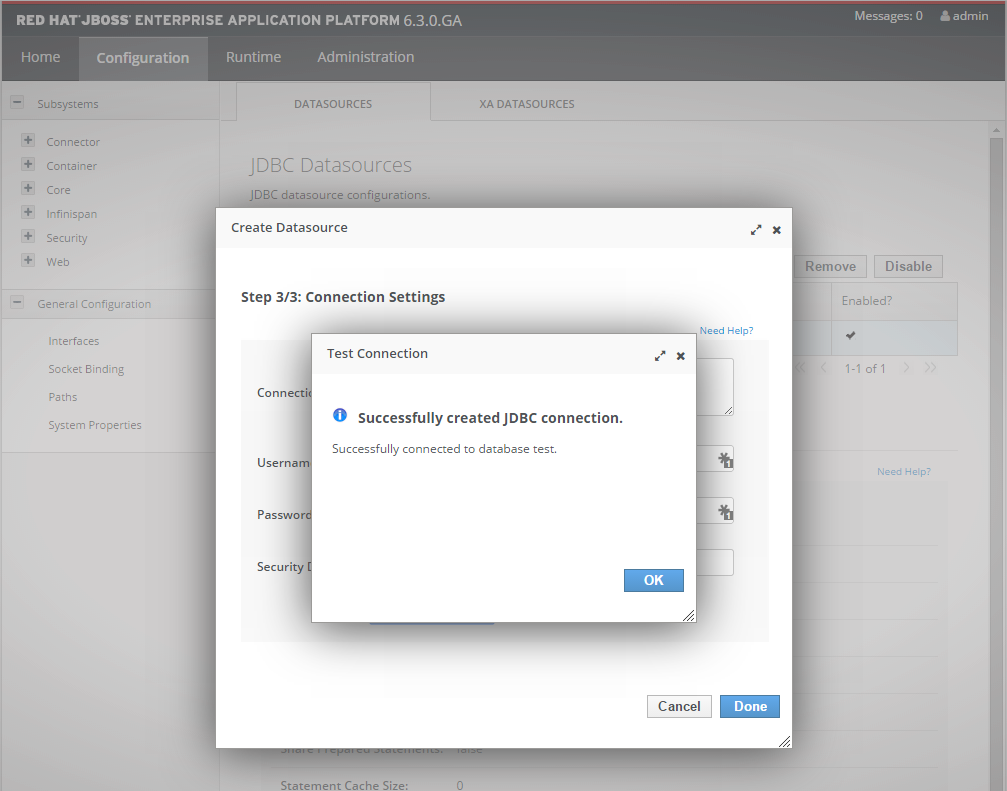
Add the connection URL jdbc:mysql://localhost:3306/mydb and the DB credentials
